
GUILD D55
戻る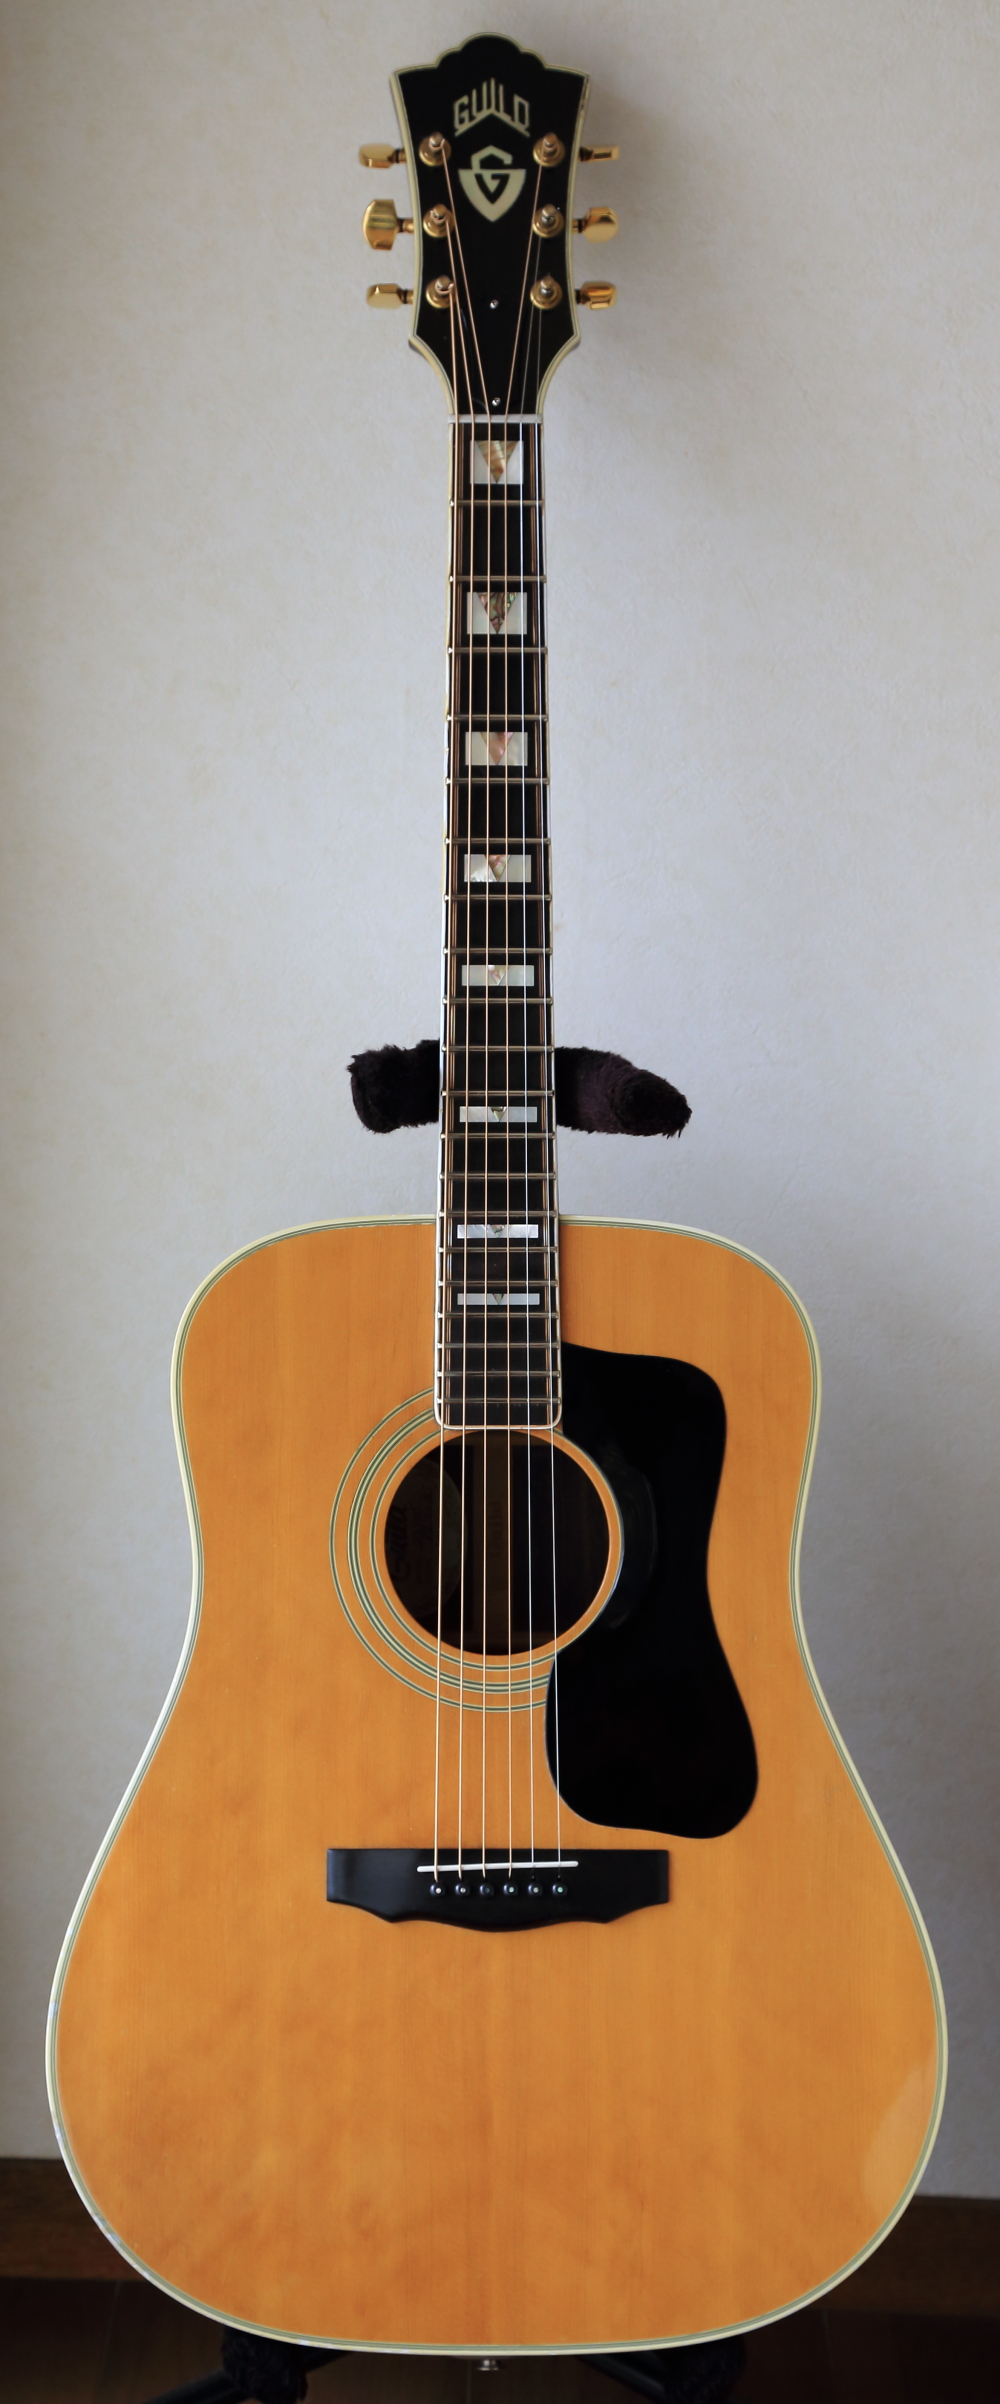
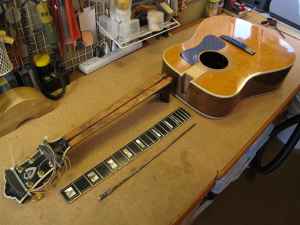
Duncan who lives in Hong Kong ordered GUILD D55 repair. Total repair
including neck reset, truss rod replacement etc. are performed. This
is the first guitar repair case of oversea's customer. Thank you very
much for Duncan!
After he has received the guitar, he has sent me an email with heartfull
message.
Hi Hideyuki san,
I have just received my guitar today! I am amazed how well the guitar
was rescued after the truss rod replacement and neck reset! Everything
is far better than what I have expected, million thanks!
I can’t take my hands off from the guitar now, thanks!!!
Duncan
Duncan,
Thank you very much for your mail!
I am very glad to hear that you satisfy the repaired guitar.
It has been a very exciting time since your first email.
As you are the first oversea’s customer for me, and D55 is the memorial
guitar, I worked with my best effort, and I have put my spirit in
the guitar.
Someday, I will visit Hongkong.
I am looking forward to see you!!!
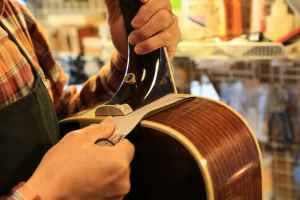
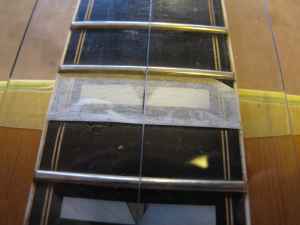
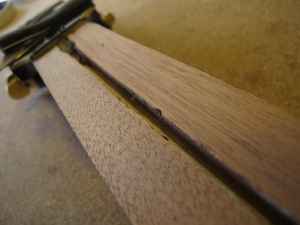
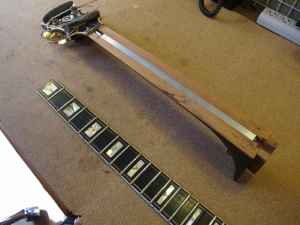
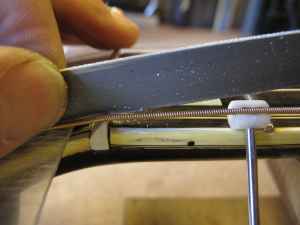
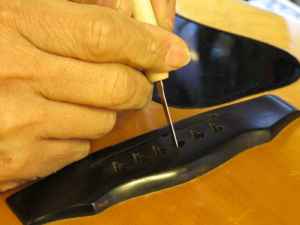
Neck reset

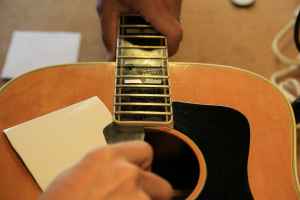
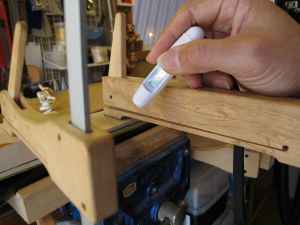
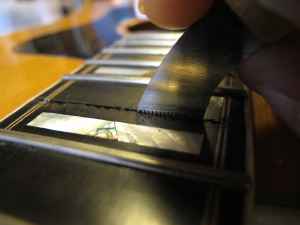
- 1.Pulling out 15th fret for drilling
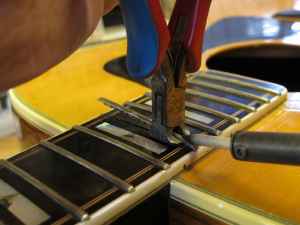
- 2.Using a solder iron, slowly removing
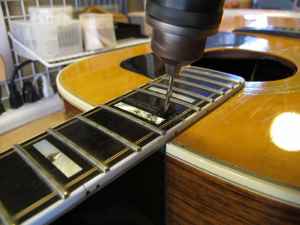
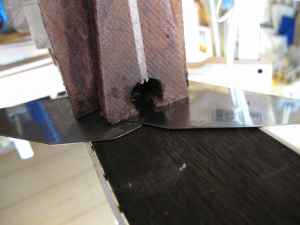
- 3. Drilling
- 4. Using
-
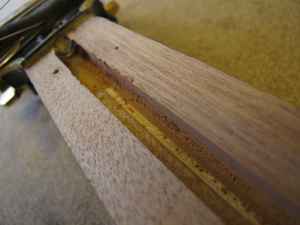
- Dilling access hole into neck pocket under 15 fret slot.
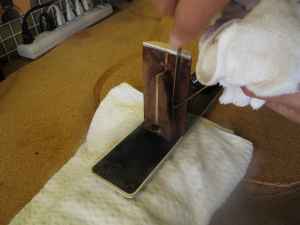
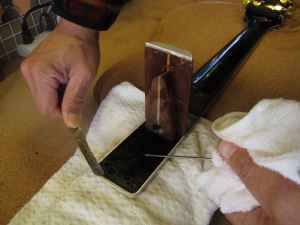
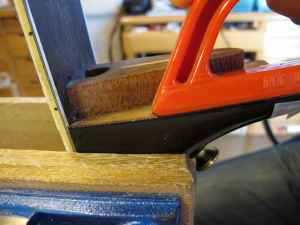
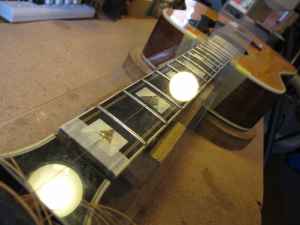
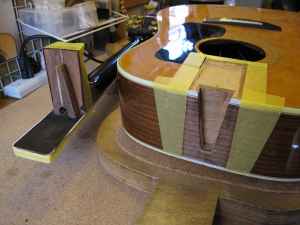
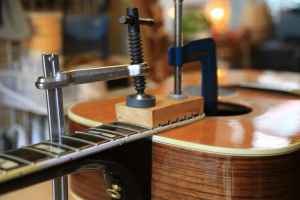
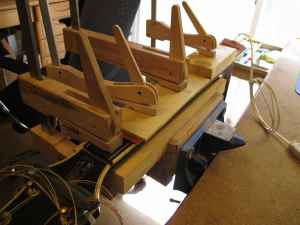
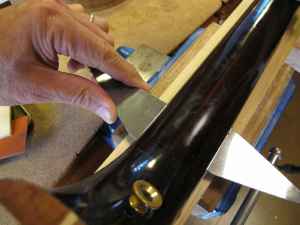
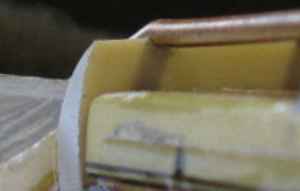
- 5.Clamping
- 6.Slowly
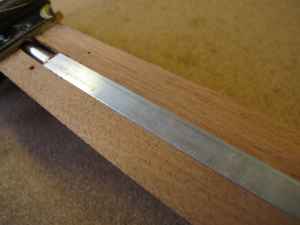
- 7.After
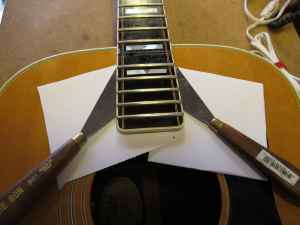
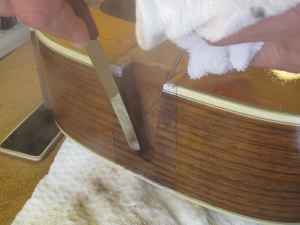
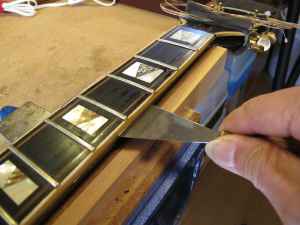
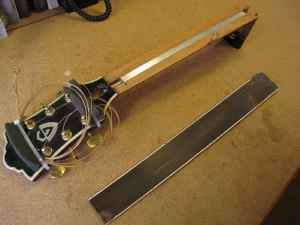
- 8.As knives are arrived at 15th fret
-
- Removing fingerboard from body
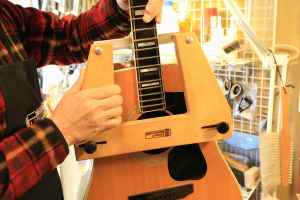
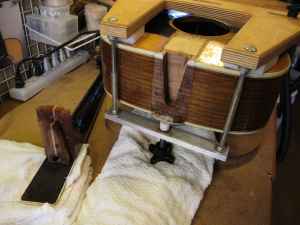
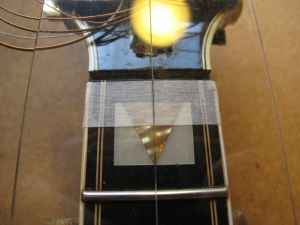
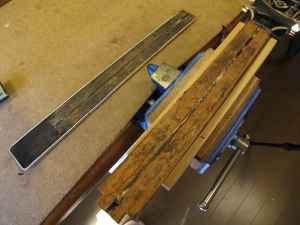
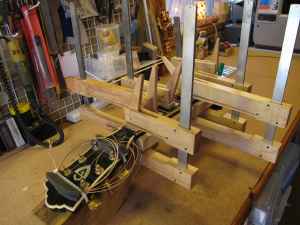
- 9.Setting up neck removal jig.
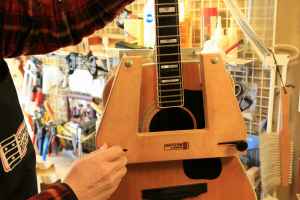
- 10.Jig is ready to use.
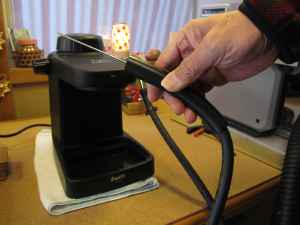
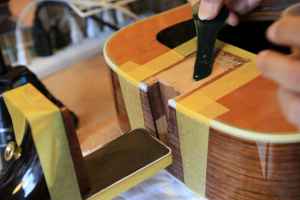
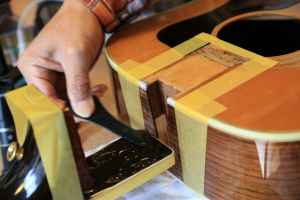
- 11.Espresso machine with a neck joint
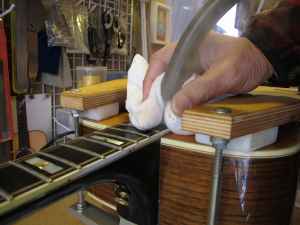
- 12.Injecting a steam into the neck
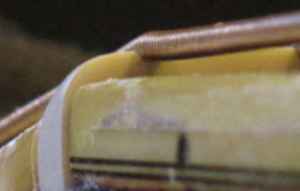
-
- Removing neck from body using a steam
- 13.Removed dove tail neck joint.
- 14.Cleaning neck joint glue, using
- 15.Neck side joint cleaning as well.
- 16.Fingerboard, also.
-
- Cleaning neck joint glue with remaining steam
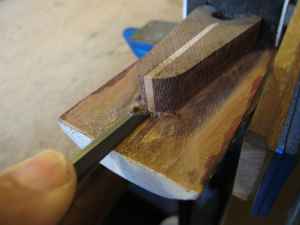
- 17.This is neck heel. Using masking
- 18.Filing neck heel edge.
- 19.Got a target heel hight.
- 20.Filing neck heel side.
- 21.Opposite side as well.
- 22.Using
- 23.Using
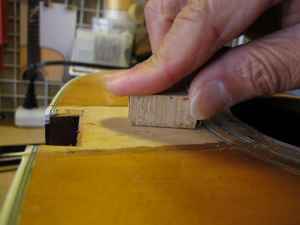
- 24.Before aligning neck heel, let's
- 25.Putting into a sand paper between

- 26.Pressing neck heel onto the body

- 27.Oppsite side as well. Where let's
- 28.At the same time, let's confirm
-
- Aligning neck heel with sand paper.
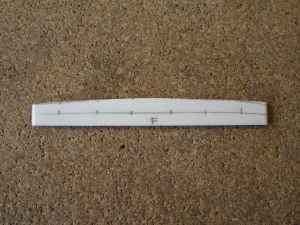
- 29.Place the ruler line on the center
- 30.Also, place the aother side of
- 31.And let's confirm the ruler line
- 32.Sim is placed in the neck slot,
-
- Checking straightness of neck and body with neck angle.
- 33.Putting
- 34.let's

- 35.Putting
- 36.Remove
-
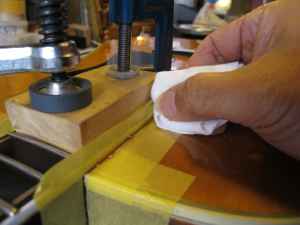
- Glueing neck joint with hide glue
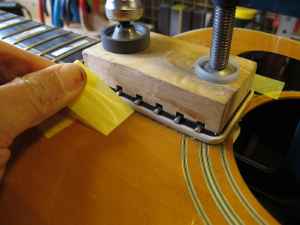
- 37.Removing masking tapes.
- 38.Let's wait for fixing the glue.
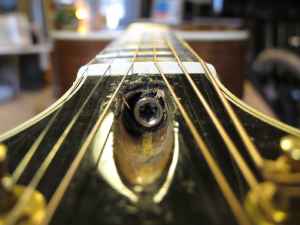
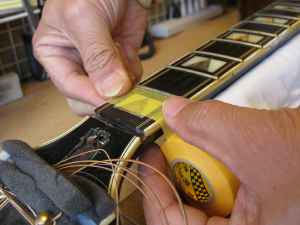
Truss rod replace
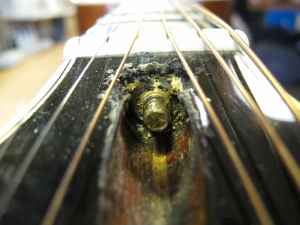
- 1.This is original rod screw portion.

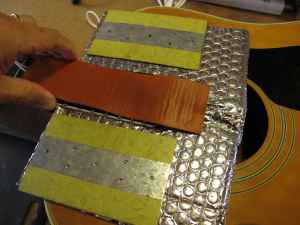
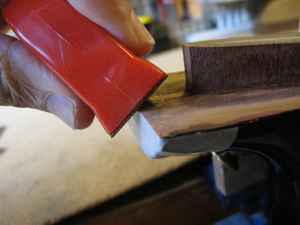
- 2.For removing fingerboard from neck,
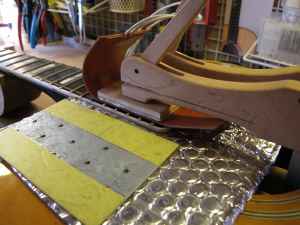
- 3.Rubber heater was clamped and
- 4.Checking temperature of fingerboard.
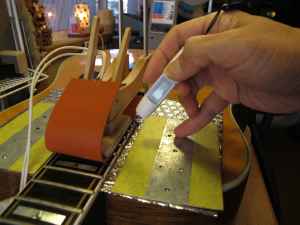
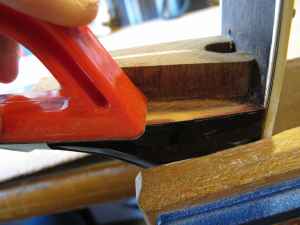
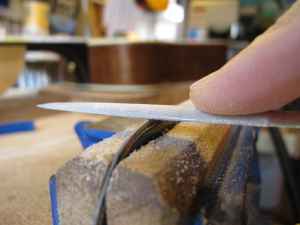
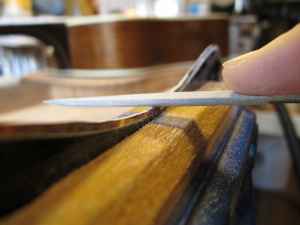
- 5.Putting knives between fingerboard
- 6.Pushing knives slowly.
- 7.Almost
- 8.Now truss rod can be acccessed.
-
- Separating fingeboard from neck.
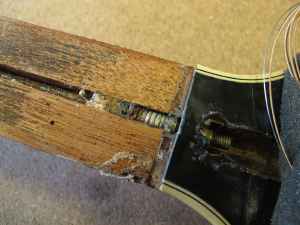
- 9.Looking at original truss rod.
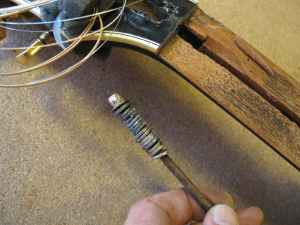
- 10.With so may spacers.
- 11.Separated components.
- 12.Cleaned neck surface.
- 13.Expanded rod slot width.
- 14.New rod is Martin style.
- 15.Rod fits neck slot.
- 16.Ready to glue!
- 17.Fingerboard is glued and clamped.
- 18.Replaced rod and cover portion.
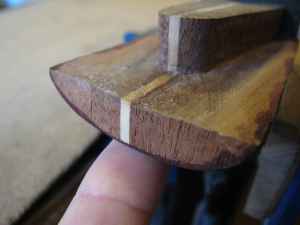
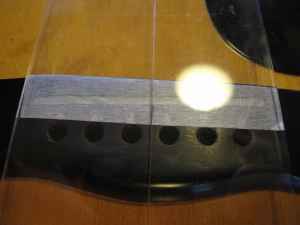
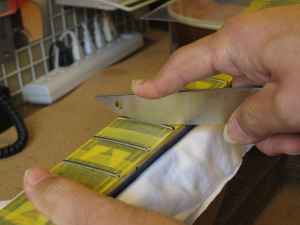
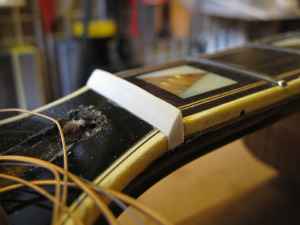
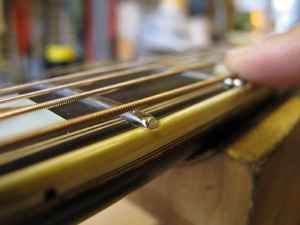
Fret Leveling
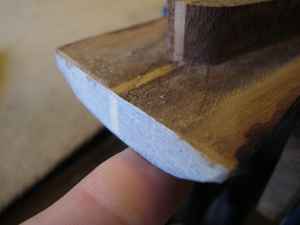
- 1.Before fret work, let fill access
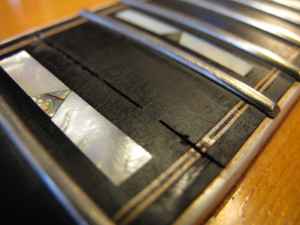
- 2.Ebony was filled and cut.
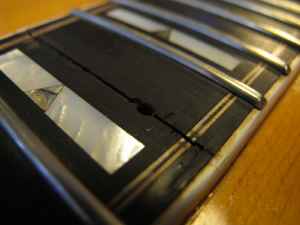
- 3.Sawing 15th fret slot.
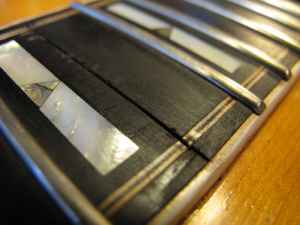
- 4.Restored 15th fret slot.
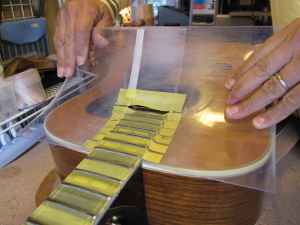
- 5.Let's protect fingerboard with masking
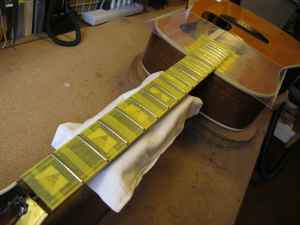
- 6.Body top is protected with acrylic
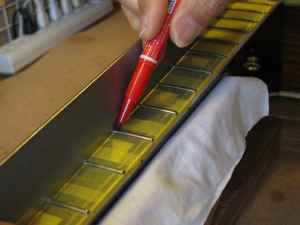
- 7.Mark low height portion with marker
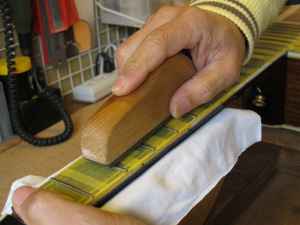
- 8.Making leveled frets with leveling
- 9.Rounding fret top.
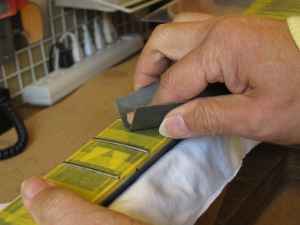
- 10.Rough

- 11.Medium
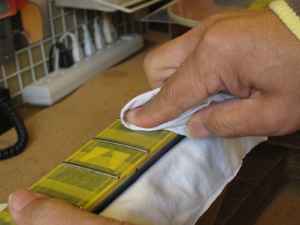
- 12.Final polish with compound.
- 13.Let's remove protectors.
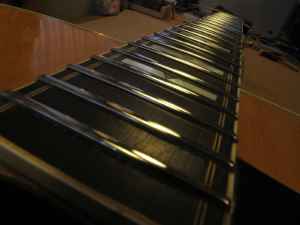
- 14.Leveled frets are ready for low
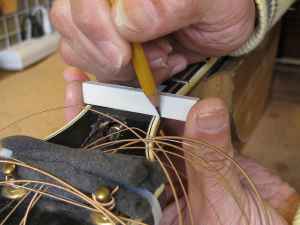
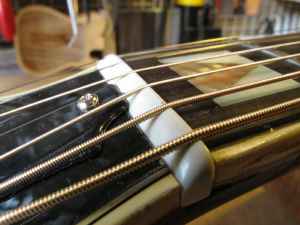
Nut Replace

- 1.Original nut was already removed.

- 2.Let's clear the nut slot bofore

- 3.Cleaning finished nut slot
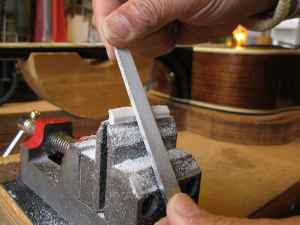
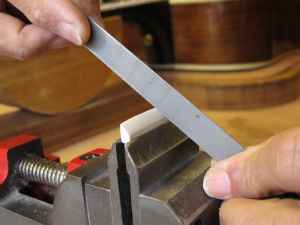
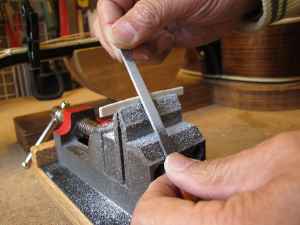
- 4.Let's cut TUSQ nut slab of neck
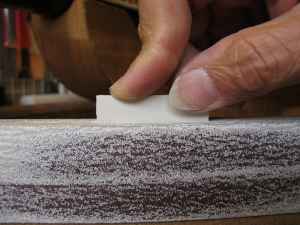
- 5.Makiing nut surface using flat sanding
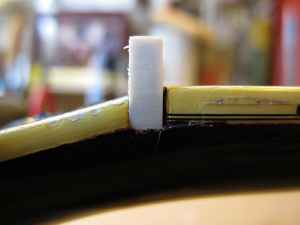
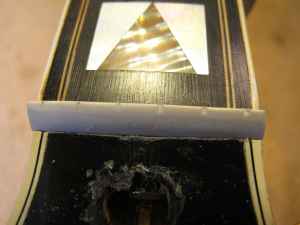
- 6.Slab fits to nut slot.
- 7.Let's check from opposite side.
- 8.Fitness can be checked using with
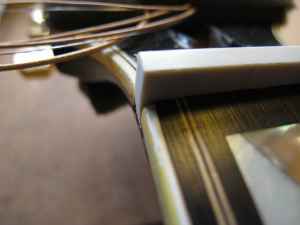
- 9.Let's check nut side to fit fingerboard
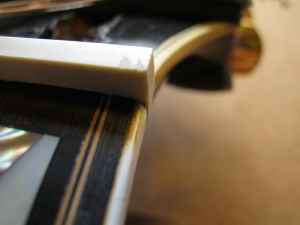
- 10.Let's check both sides.

- 11.Marking fret height to nut surface.
- 12.Nut was cut with the mark.
- 13.Let's make a nut slope.
- 14.Becoming nut shaped.
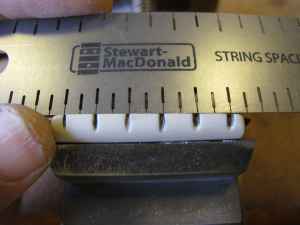
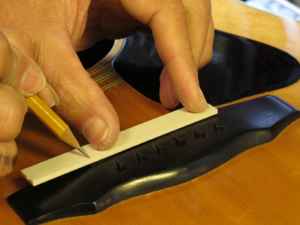
- 15.Reading original nut string slot
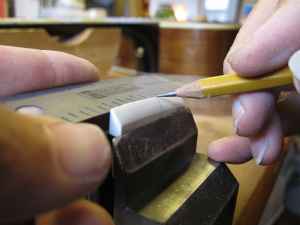
- 16.Mark string position onto the
- 17.Filing string slot.
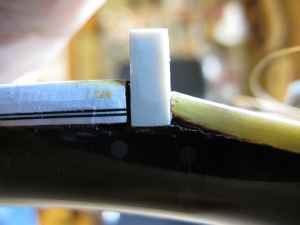
- 18.This is a nut bore action adjustment.
- 19.Let's proceed nut action adjustment.
- 20.Using nut slot files, make slot
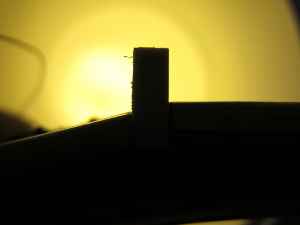
- 21.Nut heght bofore action adjust.
- 22.After adjestment.
- 23.Same adjestment were performed

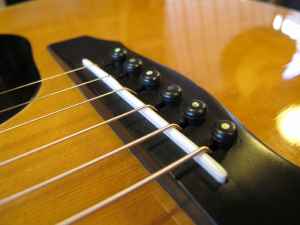
- 24.Final nut was fixed.
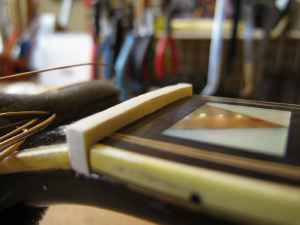
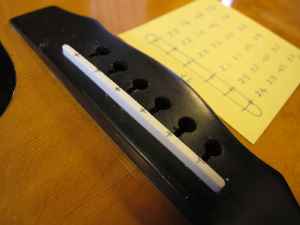
Pitch adjust and Saddle replace
- 1.Put a tuner on the soundhole, and
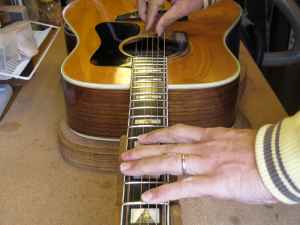
- 2.Check pitch on the every fret position.
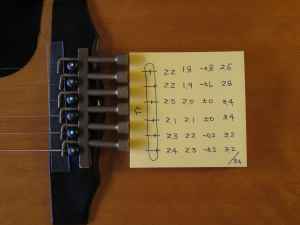
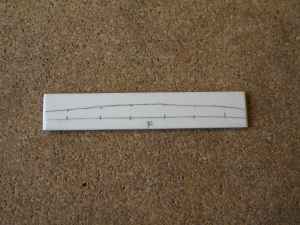
- 3.Record saddle peak position and
- 4.Cutting saddle slab fit to saddle
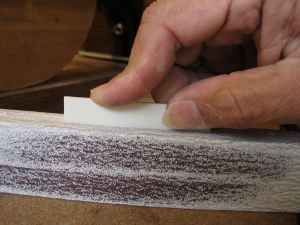
- 5.Making saddle flat surface using
- 6.Made a nice fit to saddle slot.
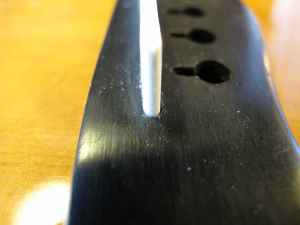
- 7.Checking fitness of saddle edge,
- 8.Mark saddle height which is recorded
- 9.Cut saddle height.
- 10.Mark saddle peak position on the
- 11.Filing and shaping out saddle peak
- 12.Making bridge pin hole slope.

- 13.After sawing the slope, shaping
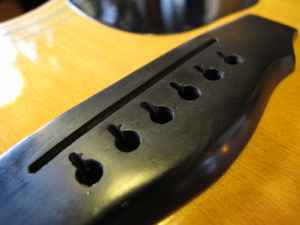
- 14.Bridge pin hole shaping are done.
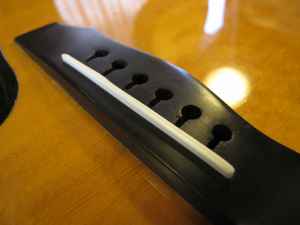
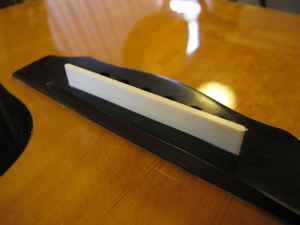
- 15.Set the new saddle into the slot.
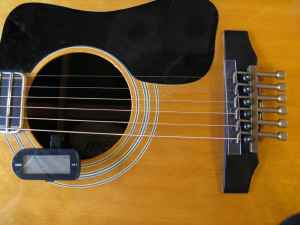
- 16.Completed saddle and bridge.
Pickguard replace
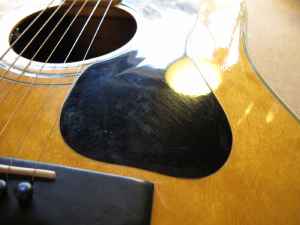
- 1.Original pickguard is a little bit
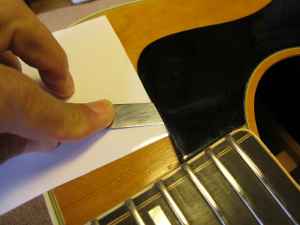
- 2.Removing original pickguard using
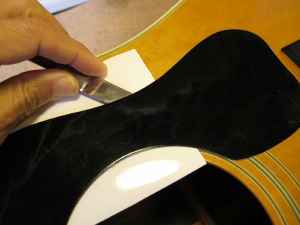
- 3.Let's proceed slowly with preventing
- 4.Original pickguard was removed.
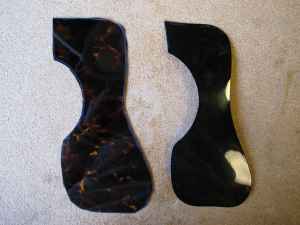
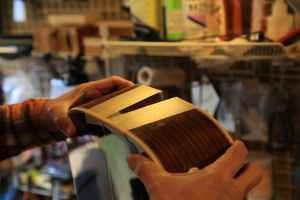
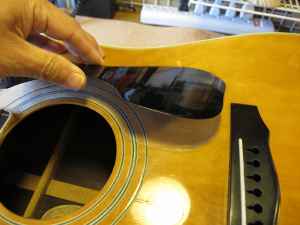
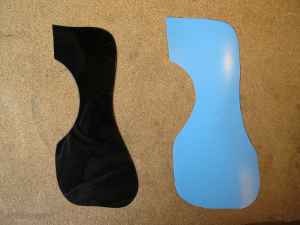
- 5.TOR-TIS sheet was cut out
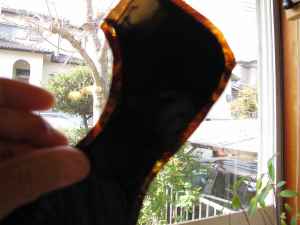
- 6.Original and TOR-TIS sheets are
- 7.Using original pickguard as a template,
- 8.Shaping very carefully not for breaking
- 9.Cut oversized adhesive sheet.
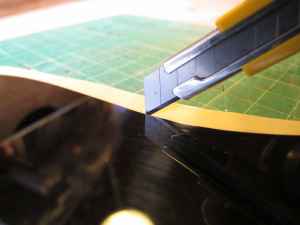
- 10.Cutting oversized portion.
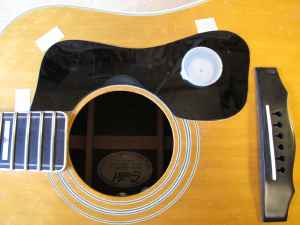
- 11.Marking the position.

- 12.Glued on the top.